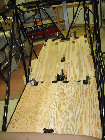
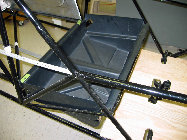
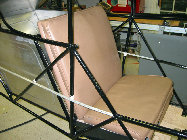
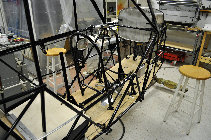
Build out of the fuselage takes so many steps in sequence that The Cub Doctor wrote a special article on the subject in April 2000
(Cub Clues, #97, page 10). The critical problem is the need to sequence the installation of the interior fabric with the floorboard
installation. And the floorboards cannot be installed unless everything fits. With but slight changes from Clyde Smith’s
priorities, allowing for differences in long wing Piper models, here is the sequence:
|
1. Frame Preparation Prior to Buildup |
10.
Installation of Front Seat |
|
2. Painting of Exposed Fuselage Tubes |
11. Installation of Stabilizer Trim Control |
|
3. Installation of the
Boot Cowl |
12. Installation of Fuel System Components |
|
4. Installation of the Vertical Fin Frame |
13. Installation of Rudder Control Cables |
|
5.
Interior Fabric Covering (and Painting) |
14. Installation of Elevator Control Cables |
|
6. Installation of Floorboards |
15. Installation of
Electrical Components |
|
7. Installation of Rudder Pedals |
16. Installation of Fuselage Stringers |
|
8. Installation of Brake System |
17. Installation
of the Stabilizer Trim Indicator |
|
9. Installation of Aileron and Elevator Controls |
18. Final inspection before covering. |
I am holding off on the interior fabric covering to ensure that all of the components go in appropriately. There are certain times that require an inspection and signoff by an A&P/IA. The “pre-cover” inspection is one of those times.
Many
more steps remain in this process, and we will report on them as completed.


