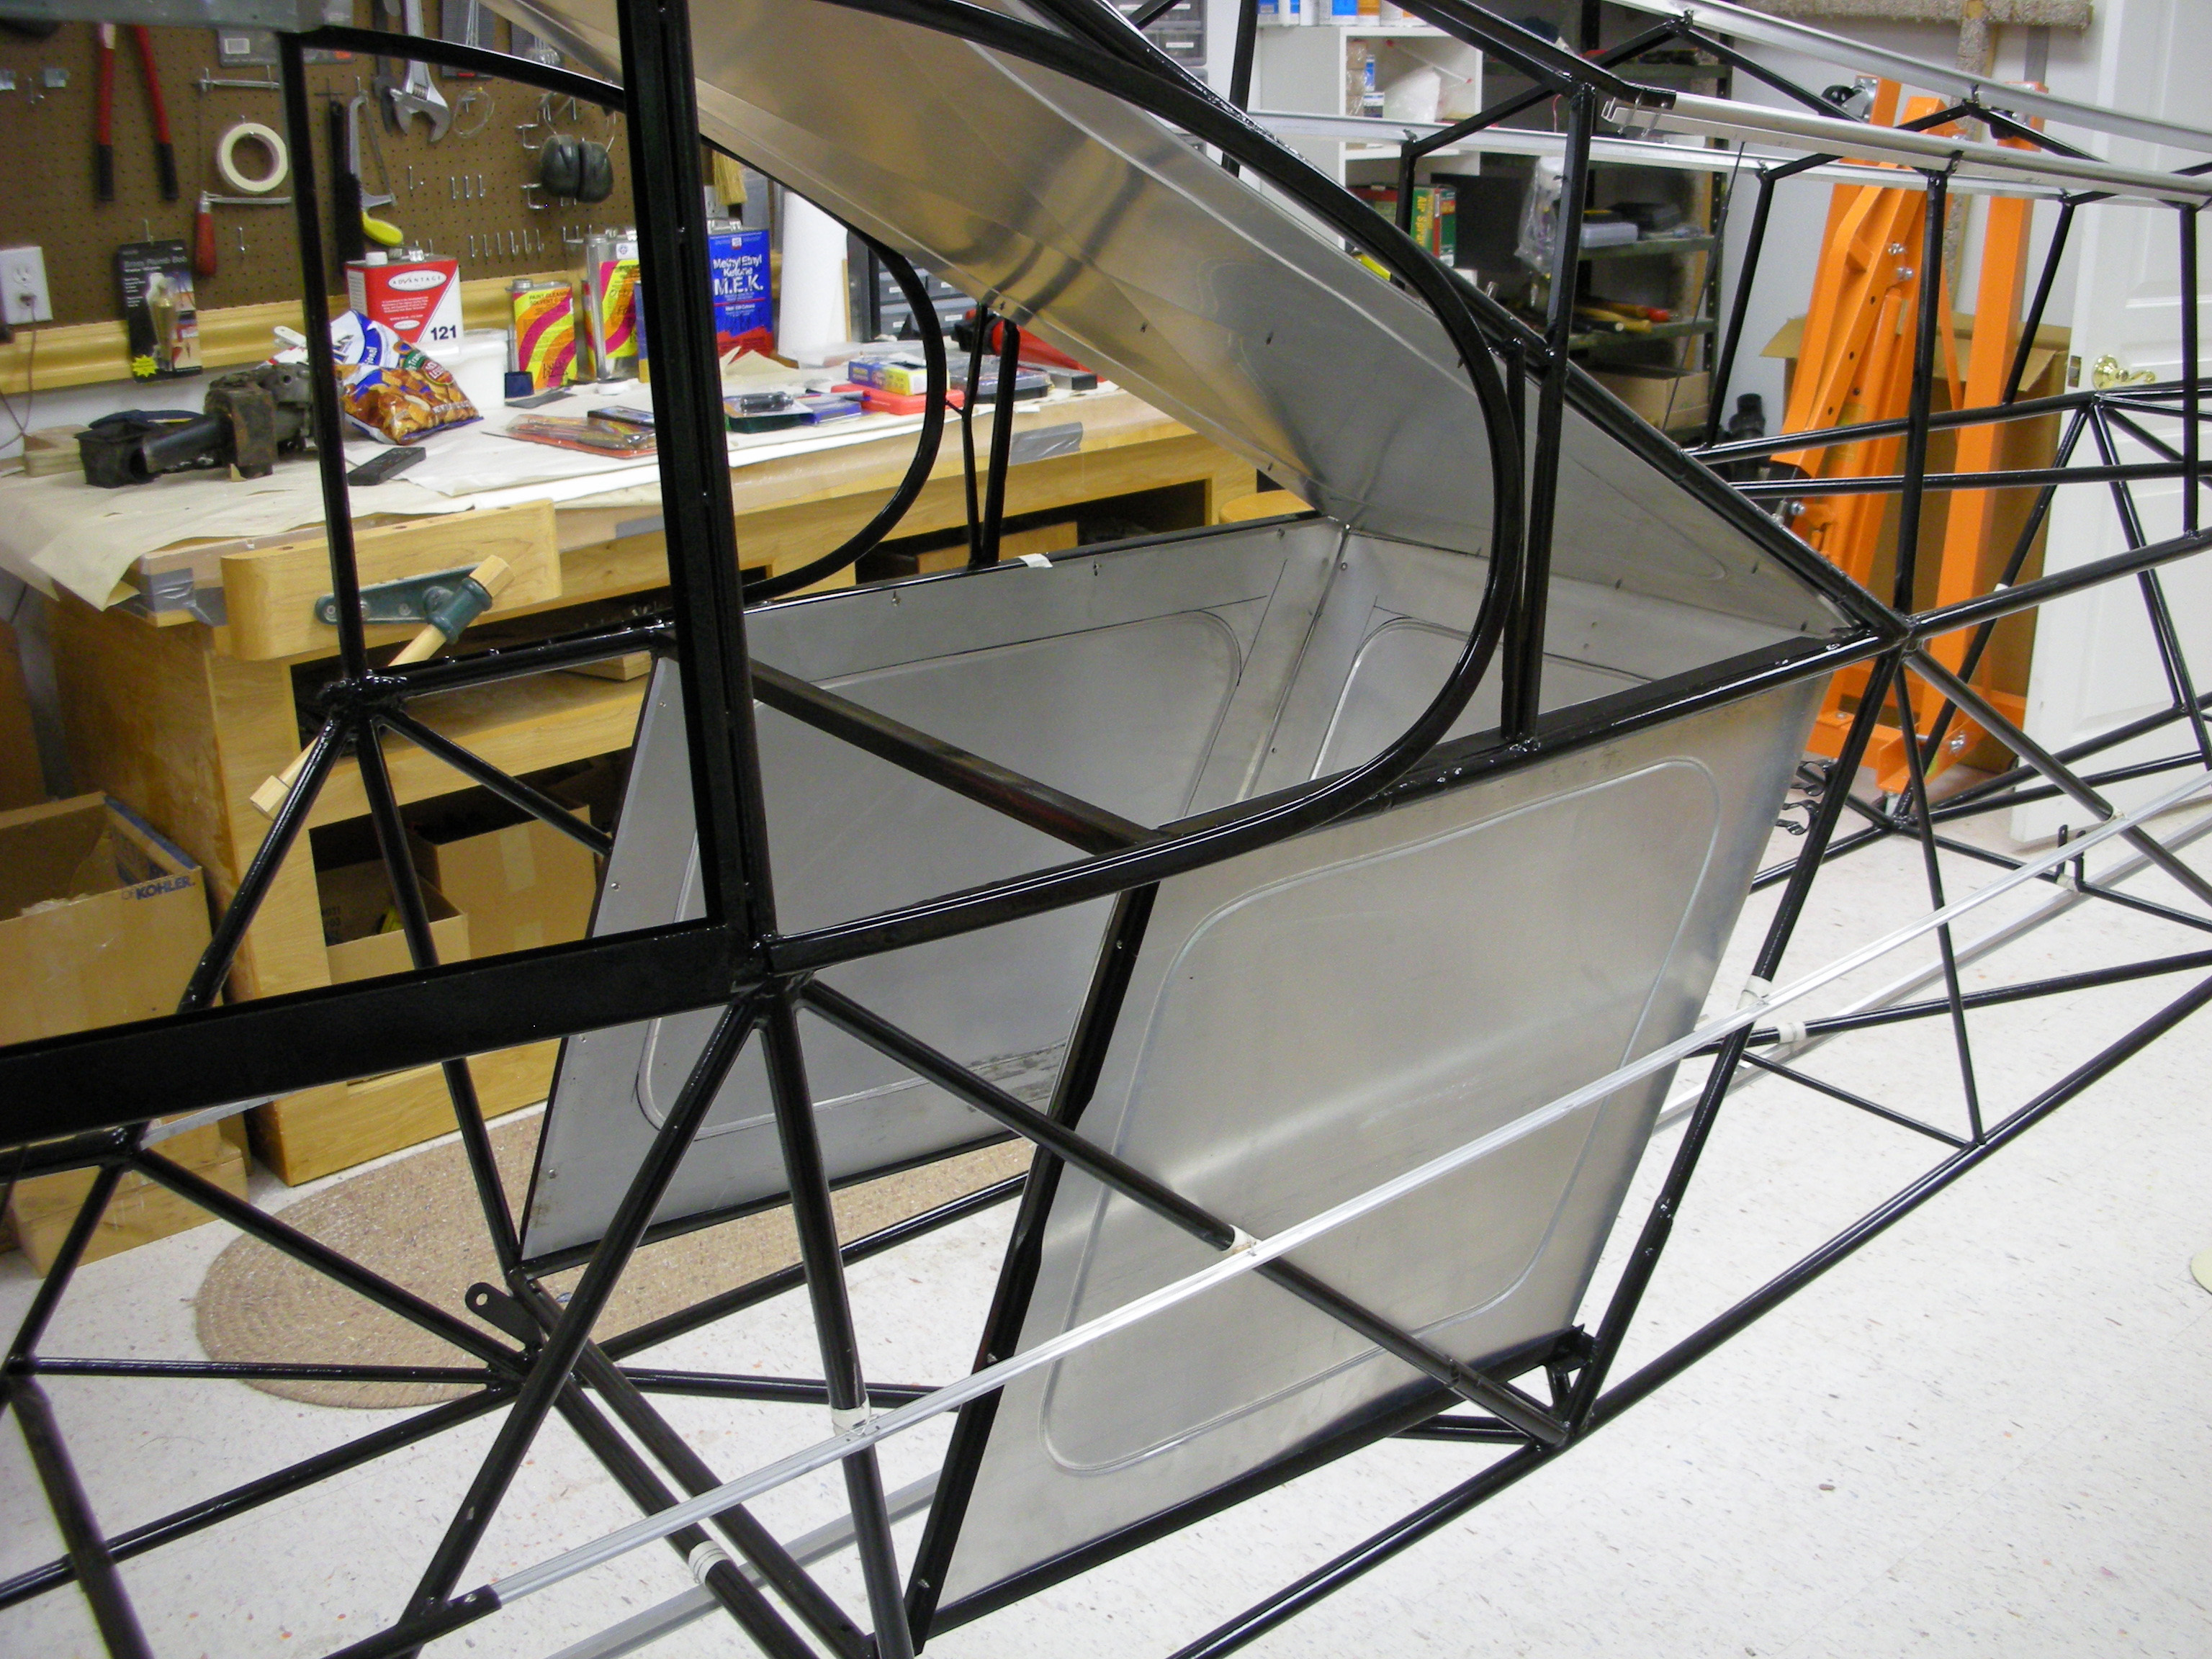
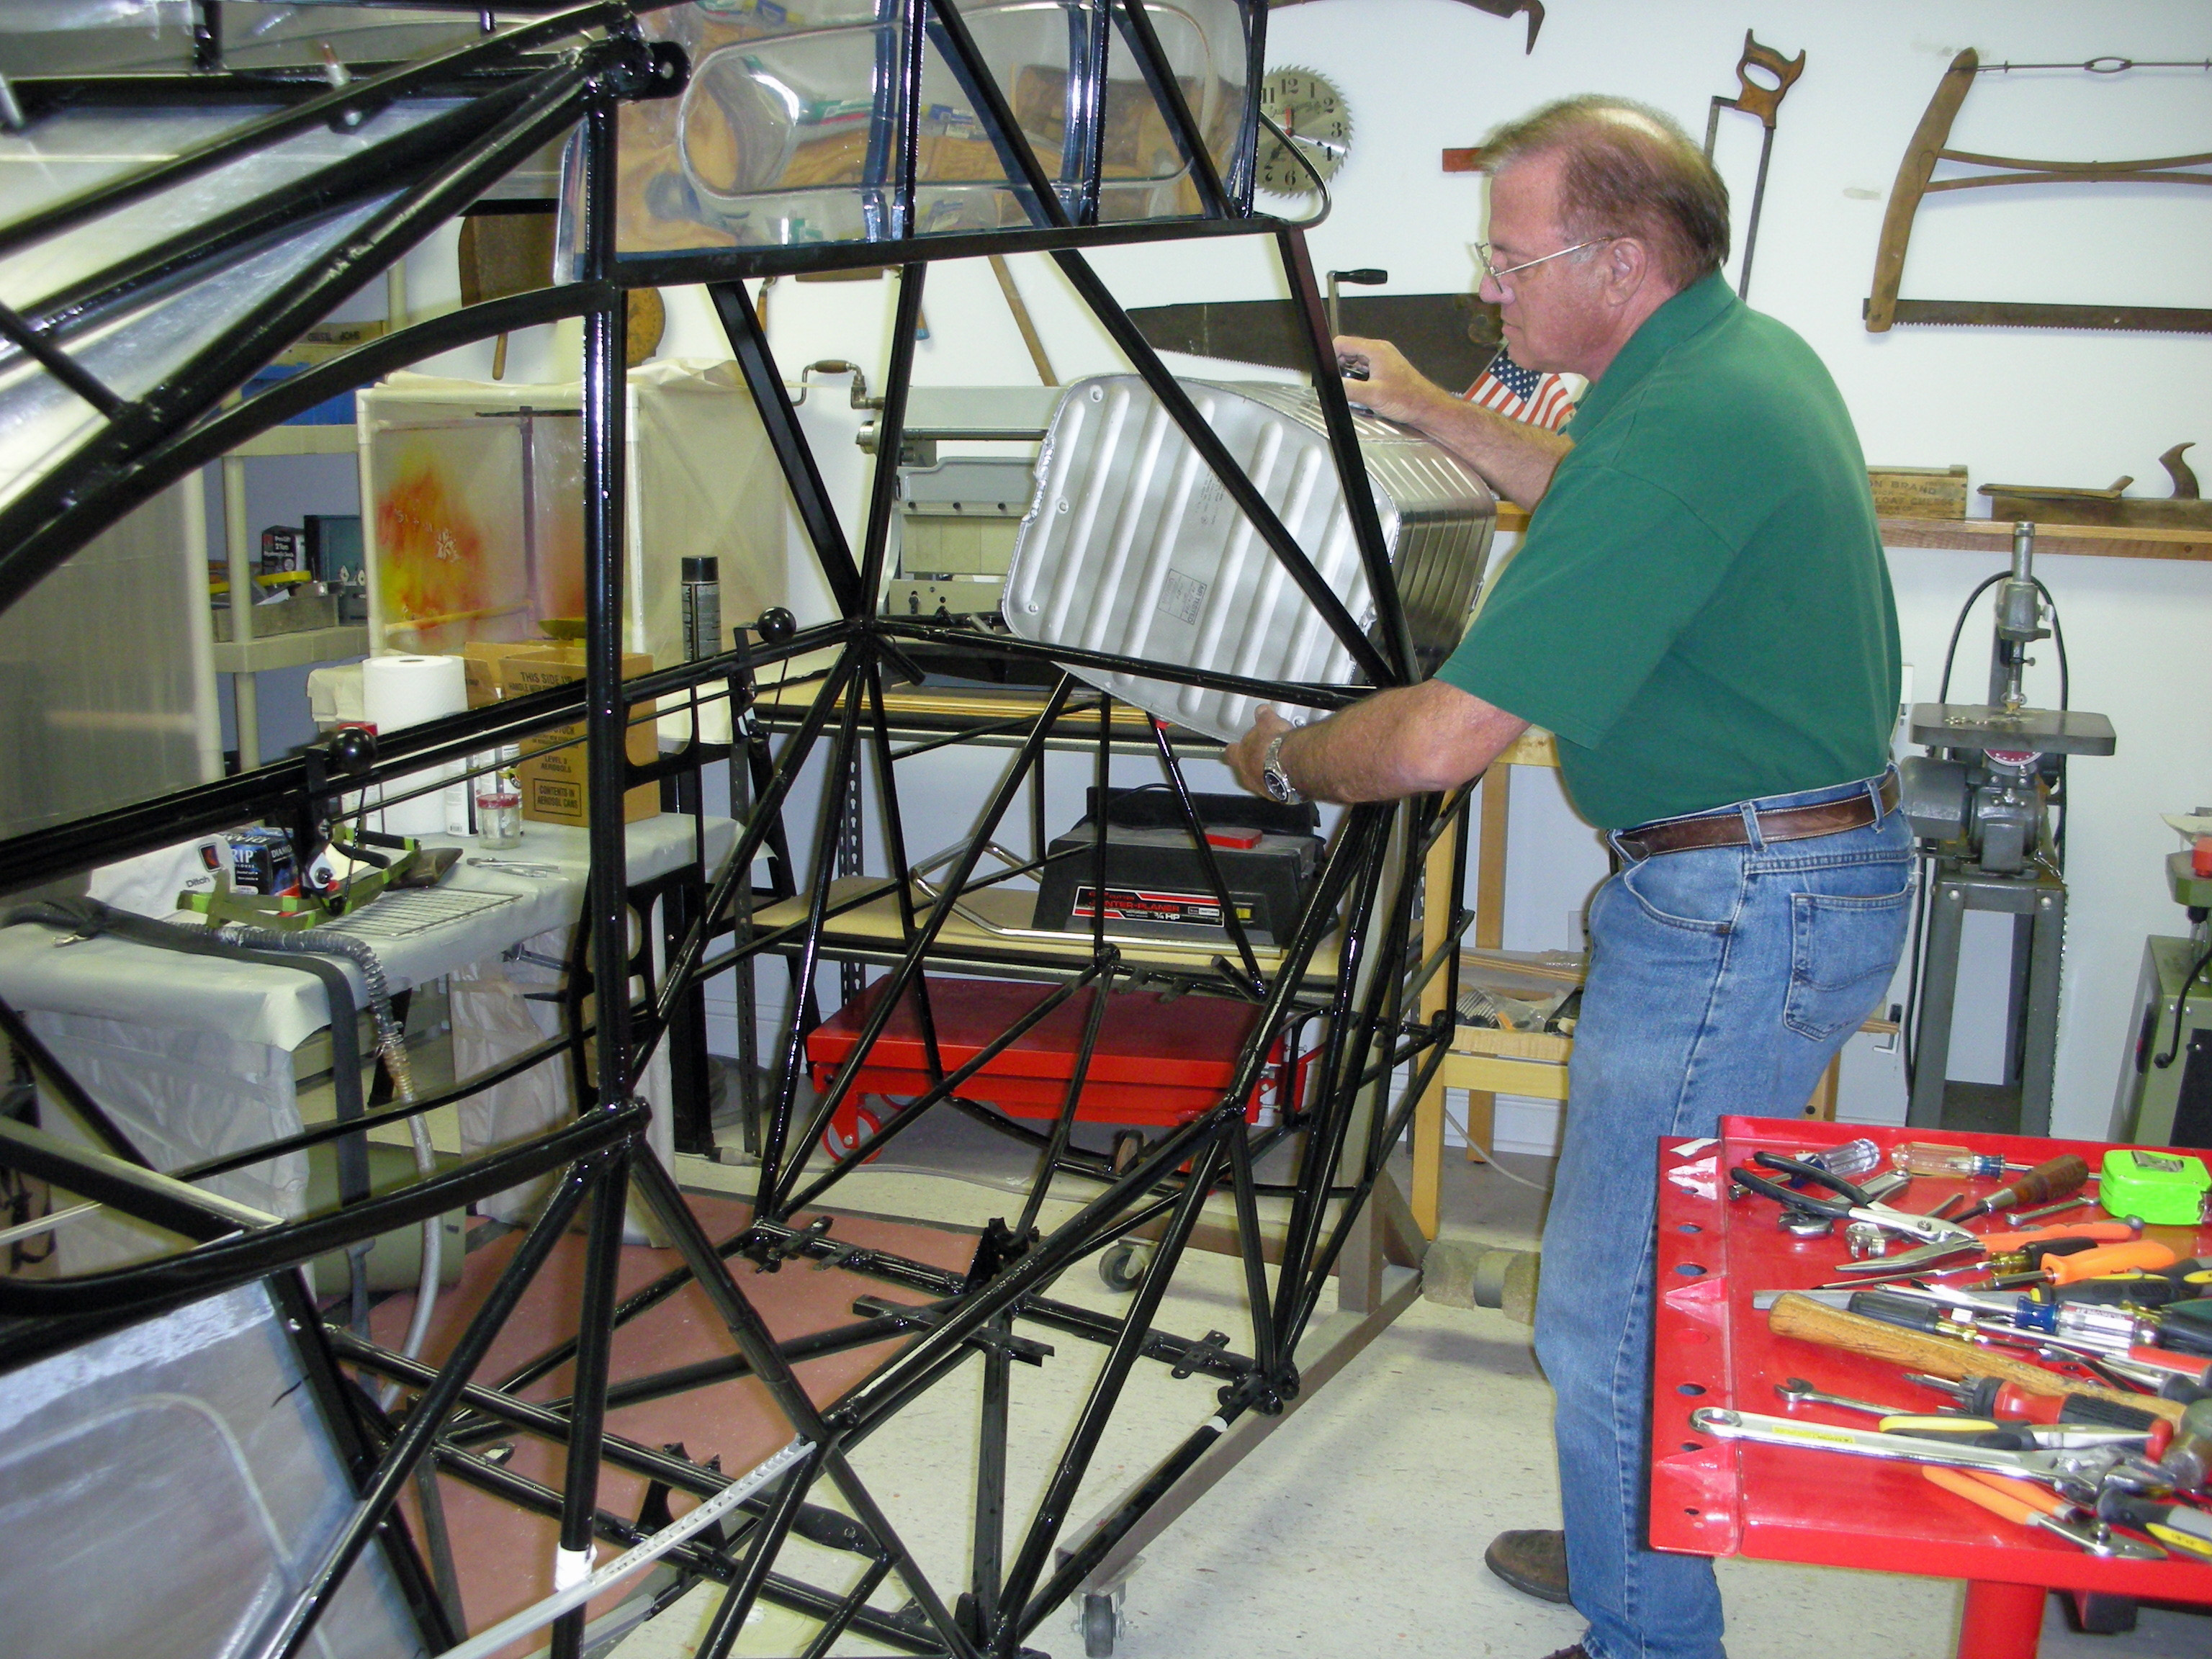
We sent the straightened fuselage out to be sand blasted, painted with epoxy primer, and painted with a glossy epoxy black top coat. It came out nice as you can see from the picture. John also made the changes we had agreed up, including the larger skylight and the large baggage compartment paneled with aluminum sheet. The old J-3 bell crank system for the elevators was replaced with a direct pull-pull cable system attached directly to the control sticks front and back. John put on aluminum stringers replacing the wood stringers in the original. He also changed the left window from the J-3 style to the PA-18 (Super Cub) style. Most everything else is the same.
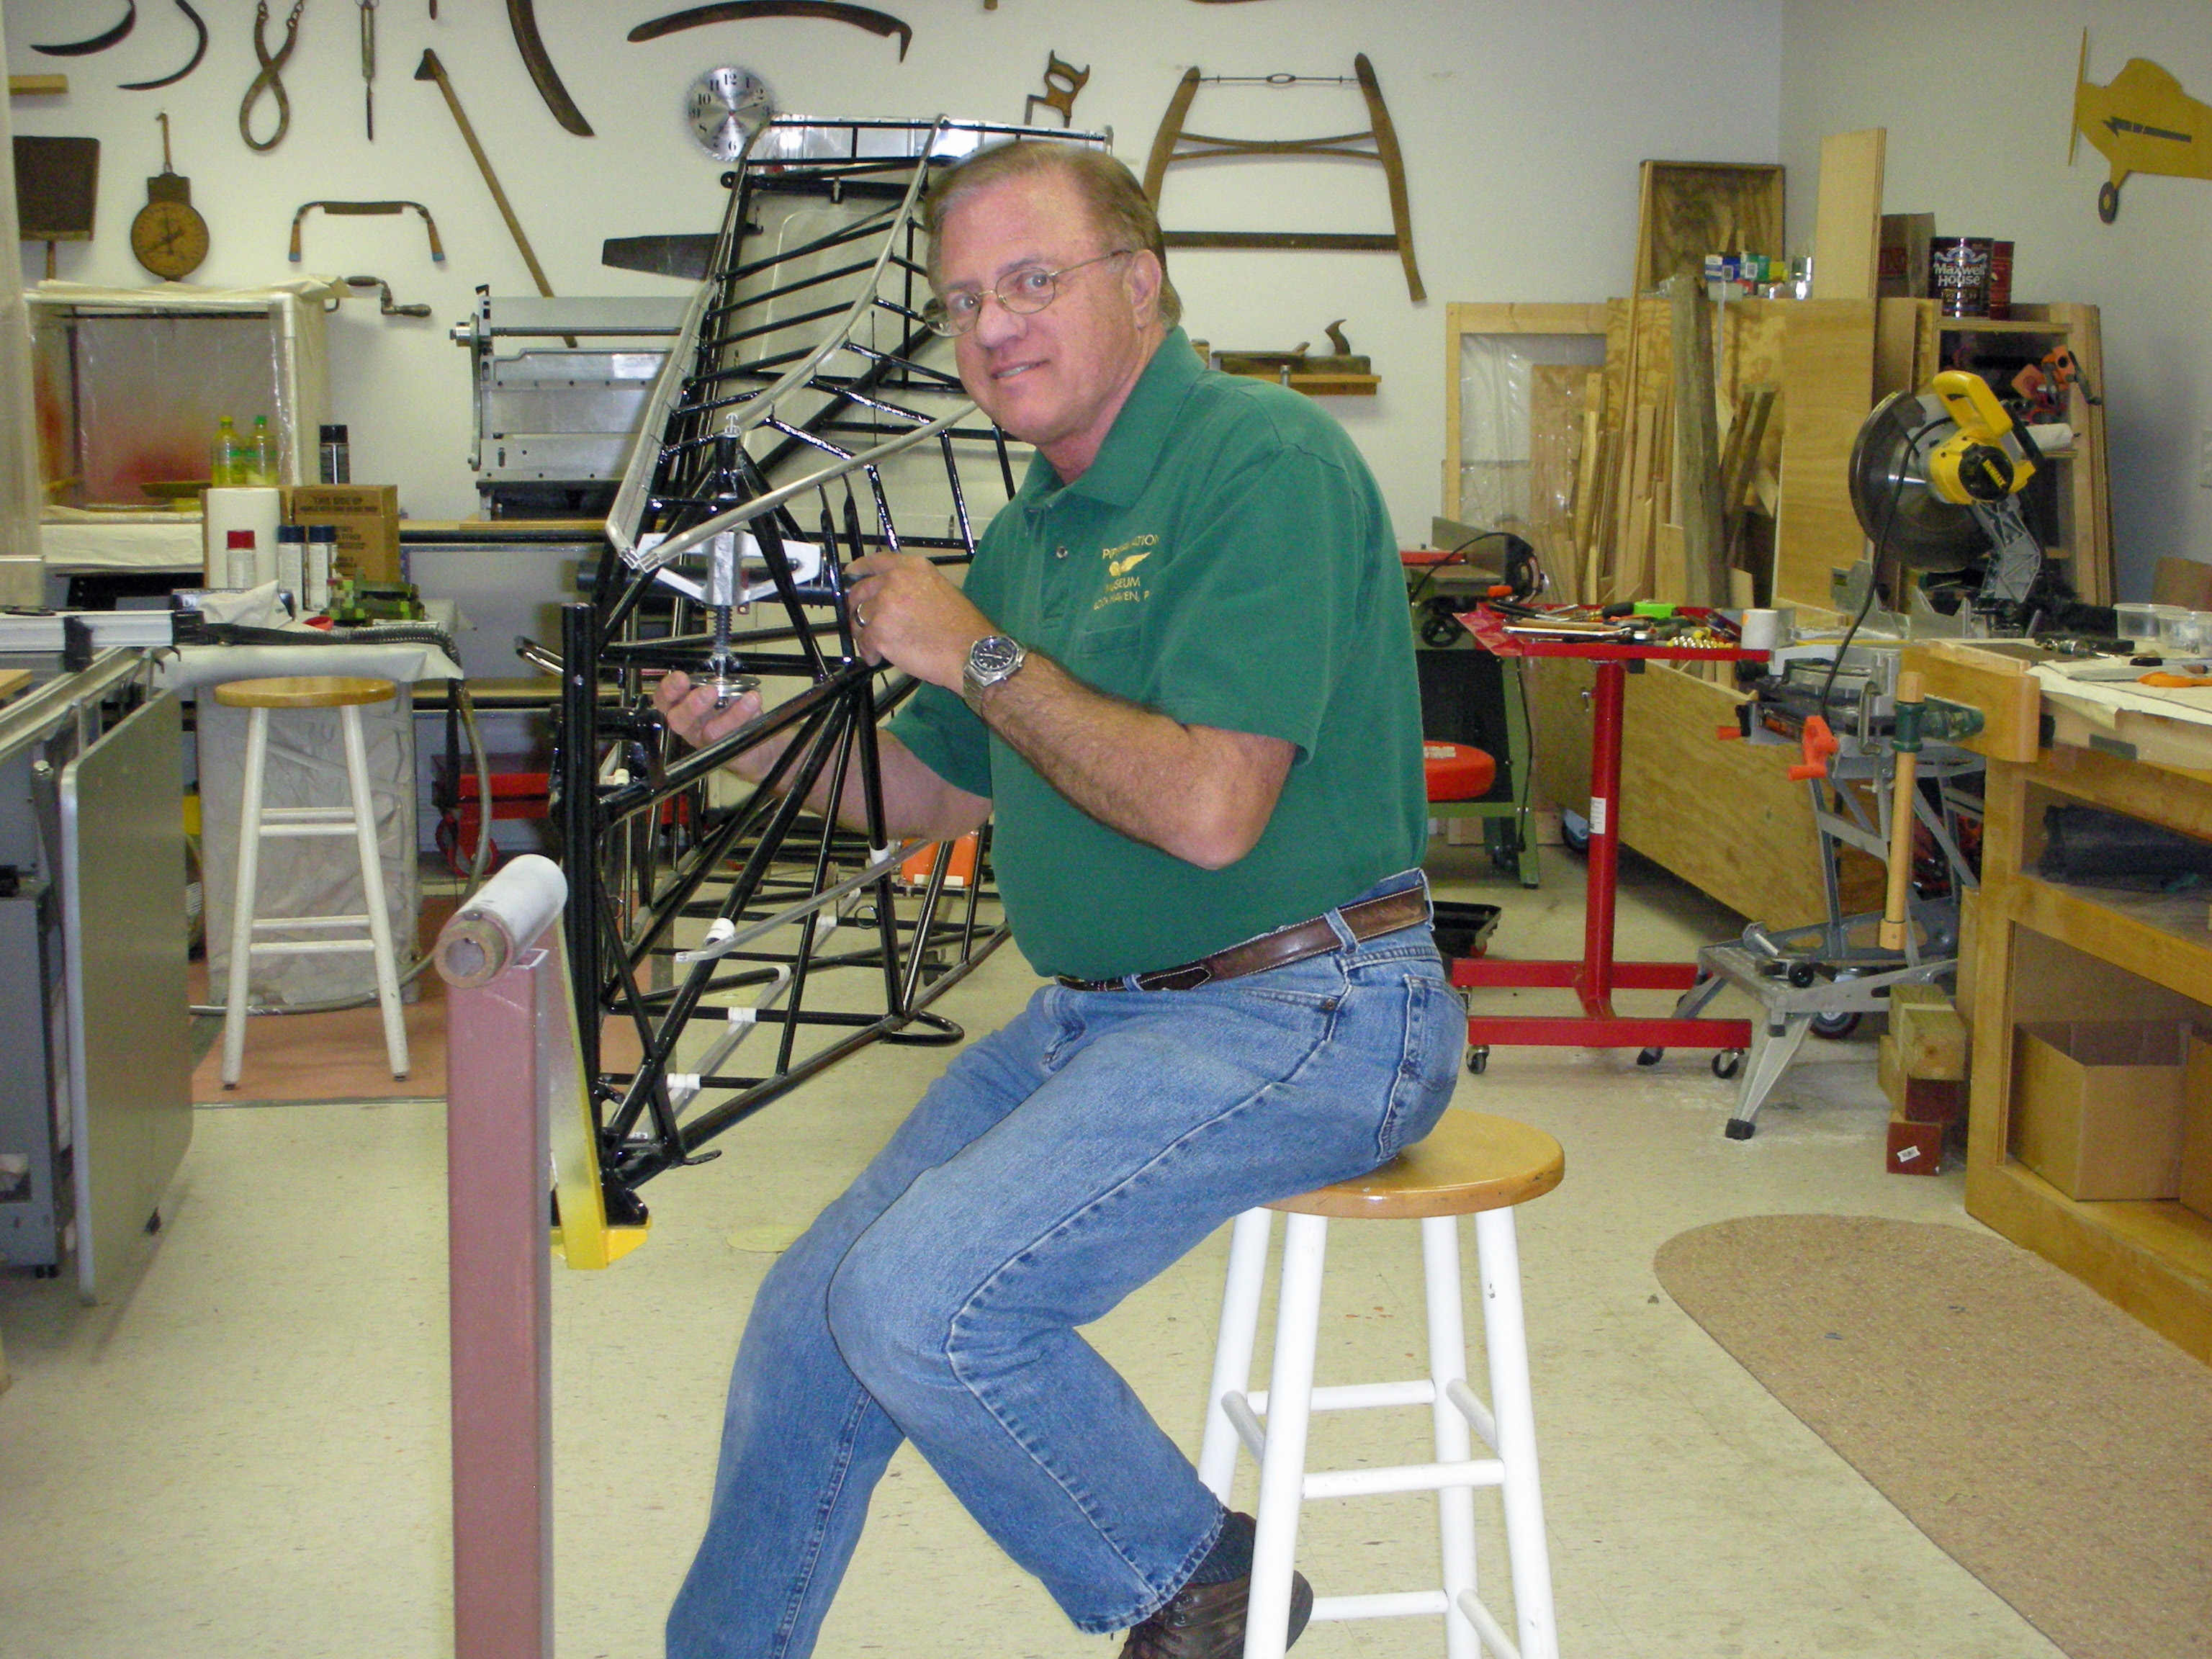
I have reached the erector set stage in which small parts are bolted in placefrom the yoke in the rear to the gas tank in front, the rudder and brake controls on the floorboard, the cables and pulleys connecting the rudders, brakes, and control sticks together. Installed are the ELT behind the baggage compartment, the trim control system, and the trim position indicator. Floorboards templates are in place. An underseat compartment is fitted under the pilots seat. And the passenger seat is installed. Next are installed the stick controls system, carb heat, fuel on-off, and dual throttle system. Then comes some welding of seat tiedown brackets below the floorboards and the mating of stabilizers and rudder to the fuselage. I gave some thought to being able to take out the seat, control sticks, and foot controls after the plane is finished. (I do this every year for the Aeronca L-16A annual inspection.) Originally, Piper made the Cub so that these parts could not be removed from the cockpit without opening up the fabric from below. By putting in some clip nuts and welding in some brackets, the cockpit can be opened up without tearing out fabric.