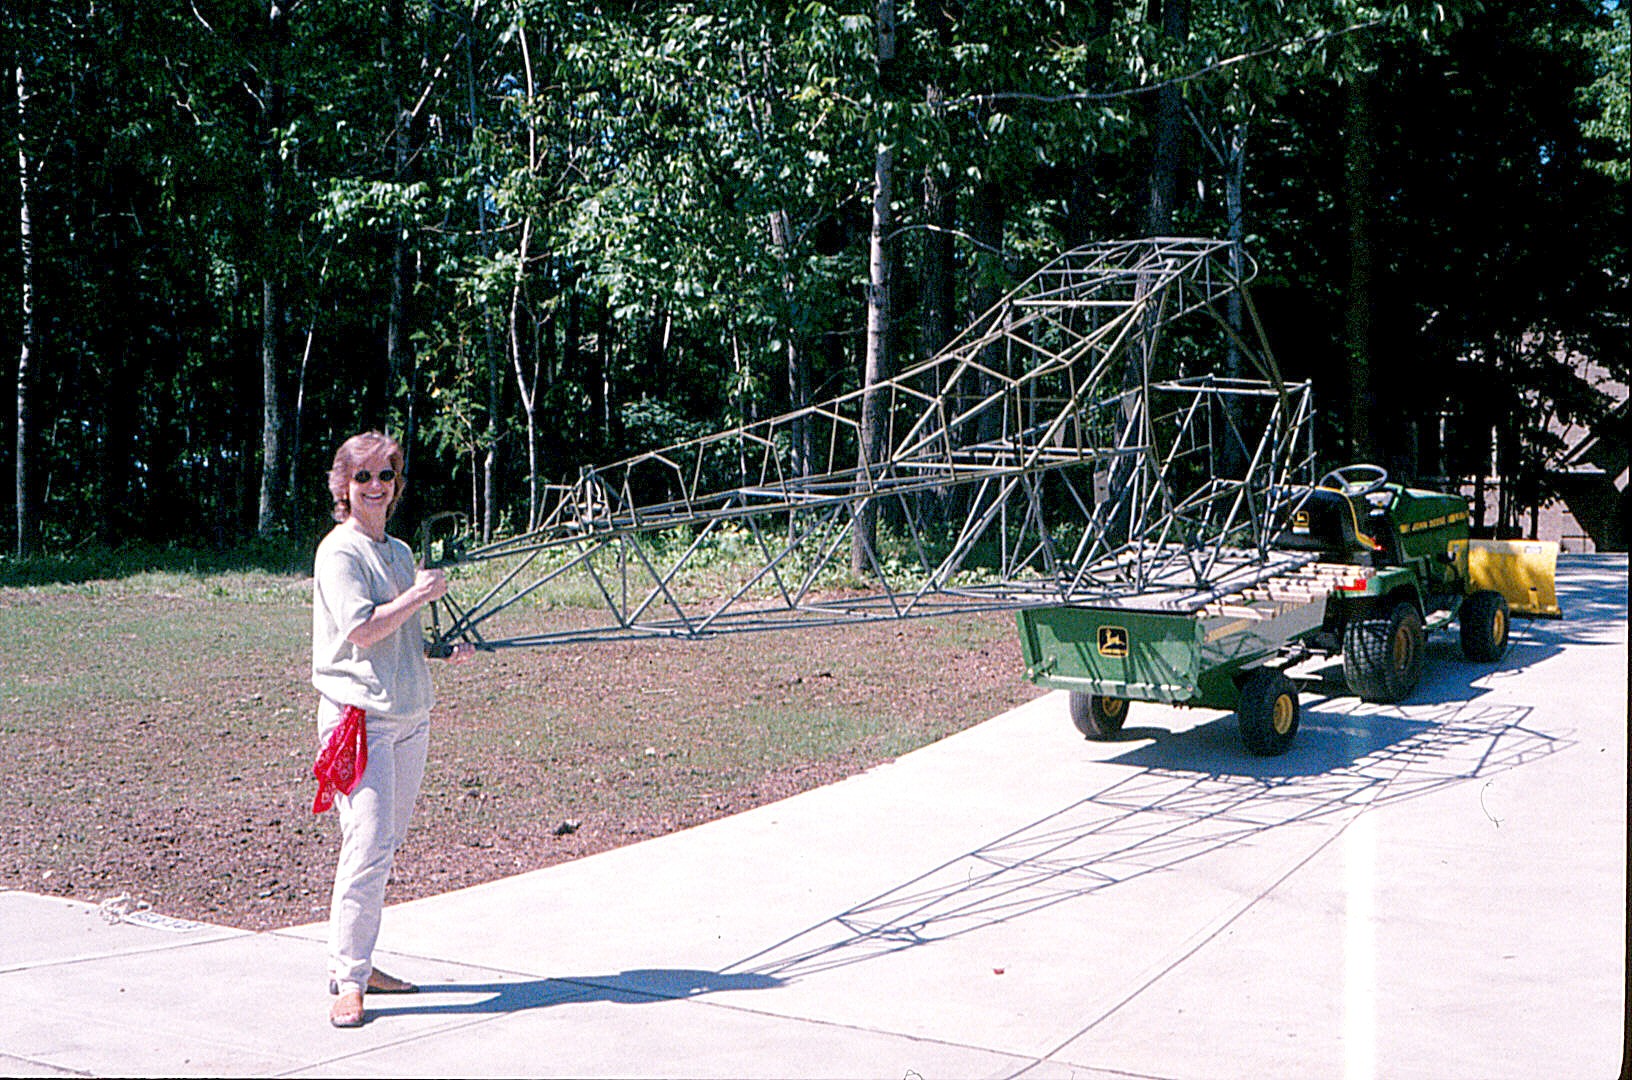
Jack had cobbled together a 1946, wood spar J-3, from all of the Piper Cub parts left from his other restorations. Only the paperwork was original. The plane was complete down to bolts except for not having an engine. It even had tires. And all of the parts were originalsno later fabrications. We shook hands, exchanged the parts and paperwork for cash, and loaded the basket of parts on the trailer for the trip home to Pittsburgh.
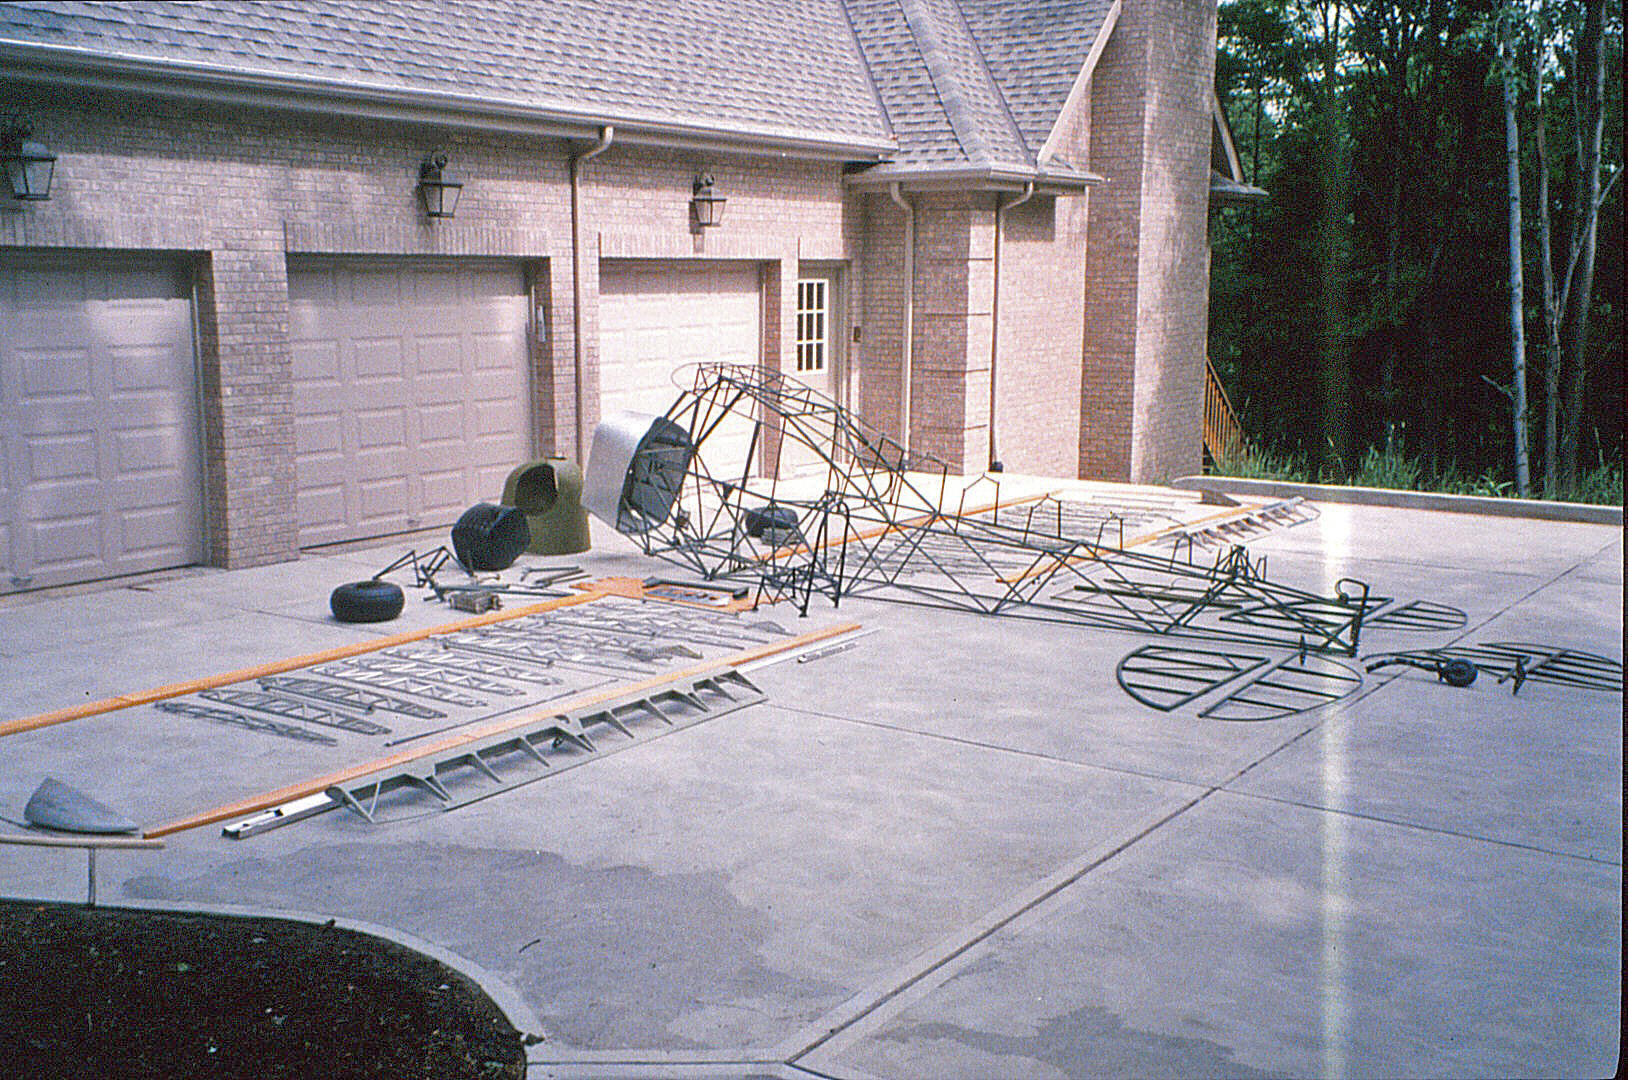
That is when the fun began. We started by laying out all of the parts on the driveway in front of our house for picture taking. In parts, the plane was all there, almost like the Erector Set of my childhood. It seemed it could not be that difficult. I could imagine how all of the major pieces fit together. How difficult could it be? I would have a flying, museum quality, aircraft in no time at all. Carted down to my shop in the lower level of the house, I went into the second stage of restorationorganizing the project and learning what I needed to do.