Ted's Aircraft Shop
Step 2. Organizing and Planning, page 2
Step 2. Organizing and Planning
Not that things got much easier. For several months, I spent every waking minute taking a part out of a box, matching the part
to a drawing, cataloging the part, tagging it, and boxing it back with its brother/sister parts. I ended up with dozens of boxes,
in size from shoe boxes to large corrugated moving boxesboxes for pulleys, instruments, magnetos, rudder controls, control cables,
trim system, cockpit fairings, fuel system parts, a variety of long wing ribs, nose ribs, angle braces with screw holes (heaven knows
what they do), fuel tank straps, Cleveland wheels and brakes, tailwheel and attachments, control sticks and control
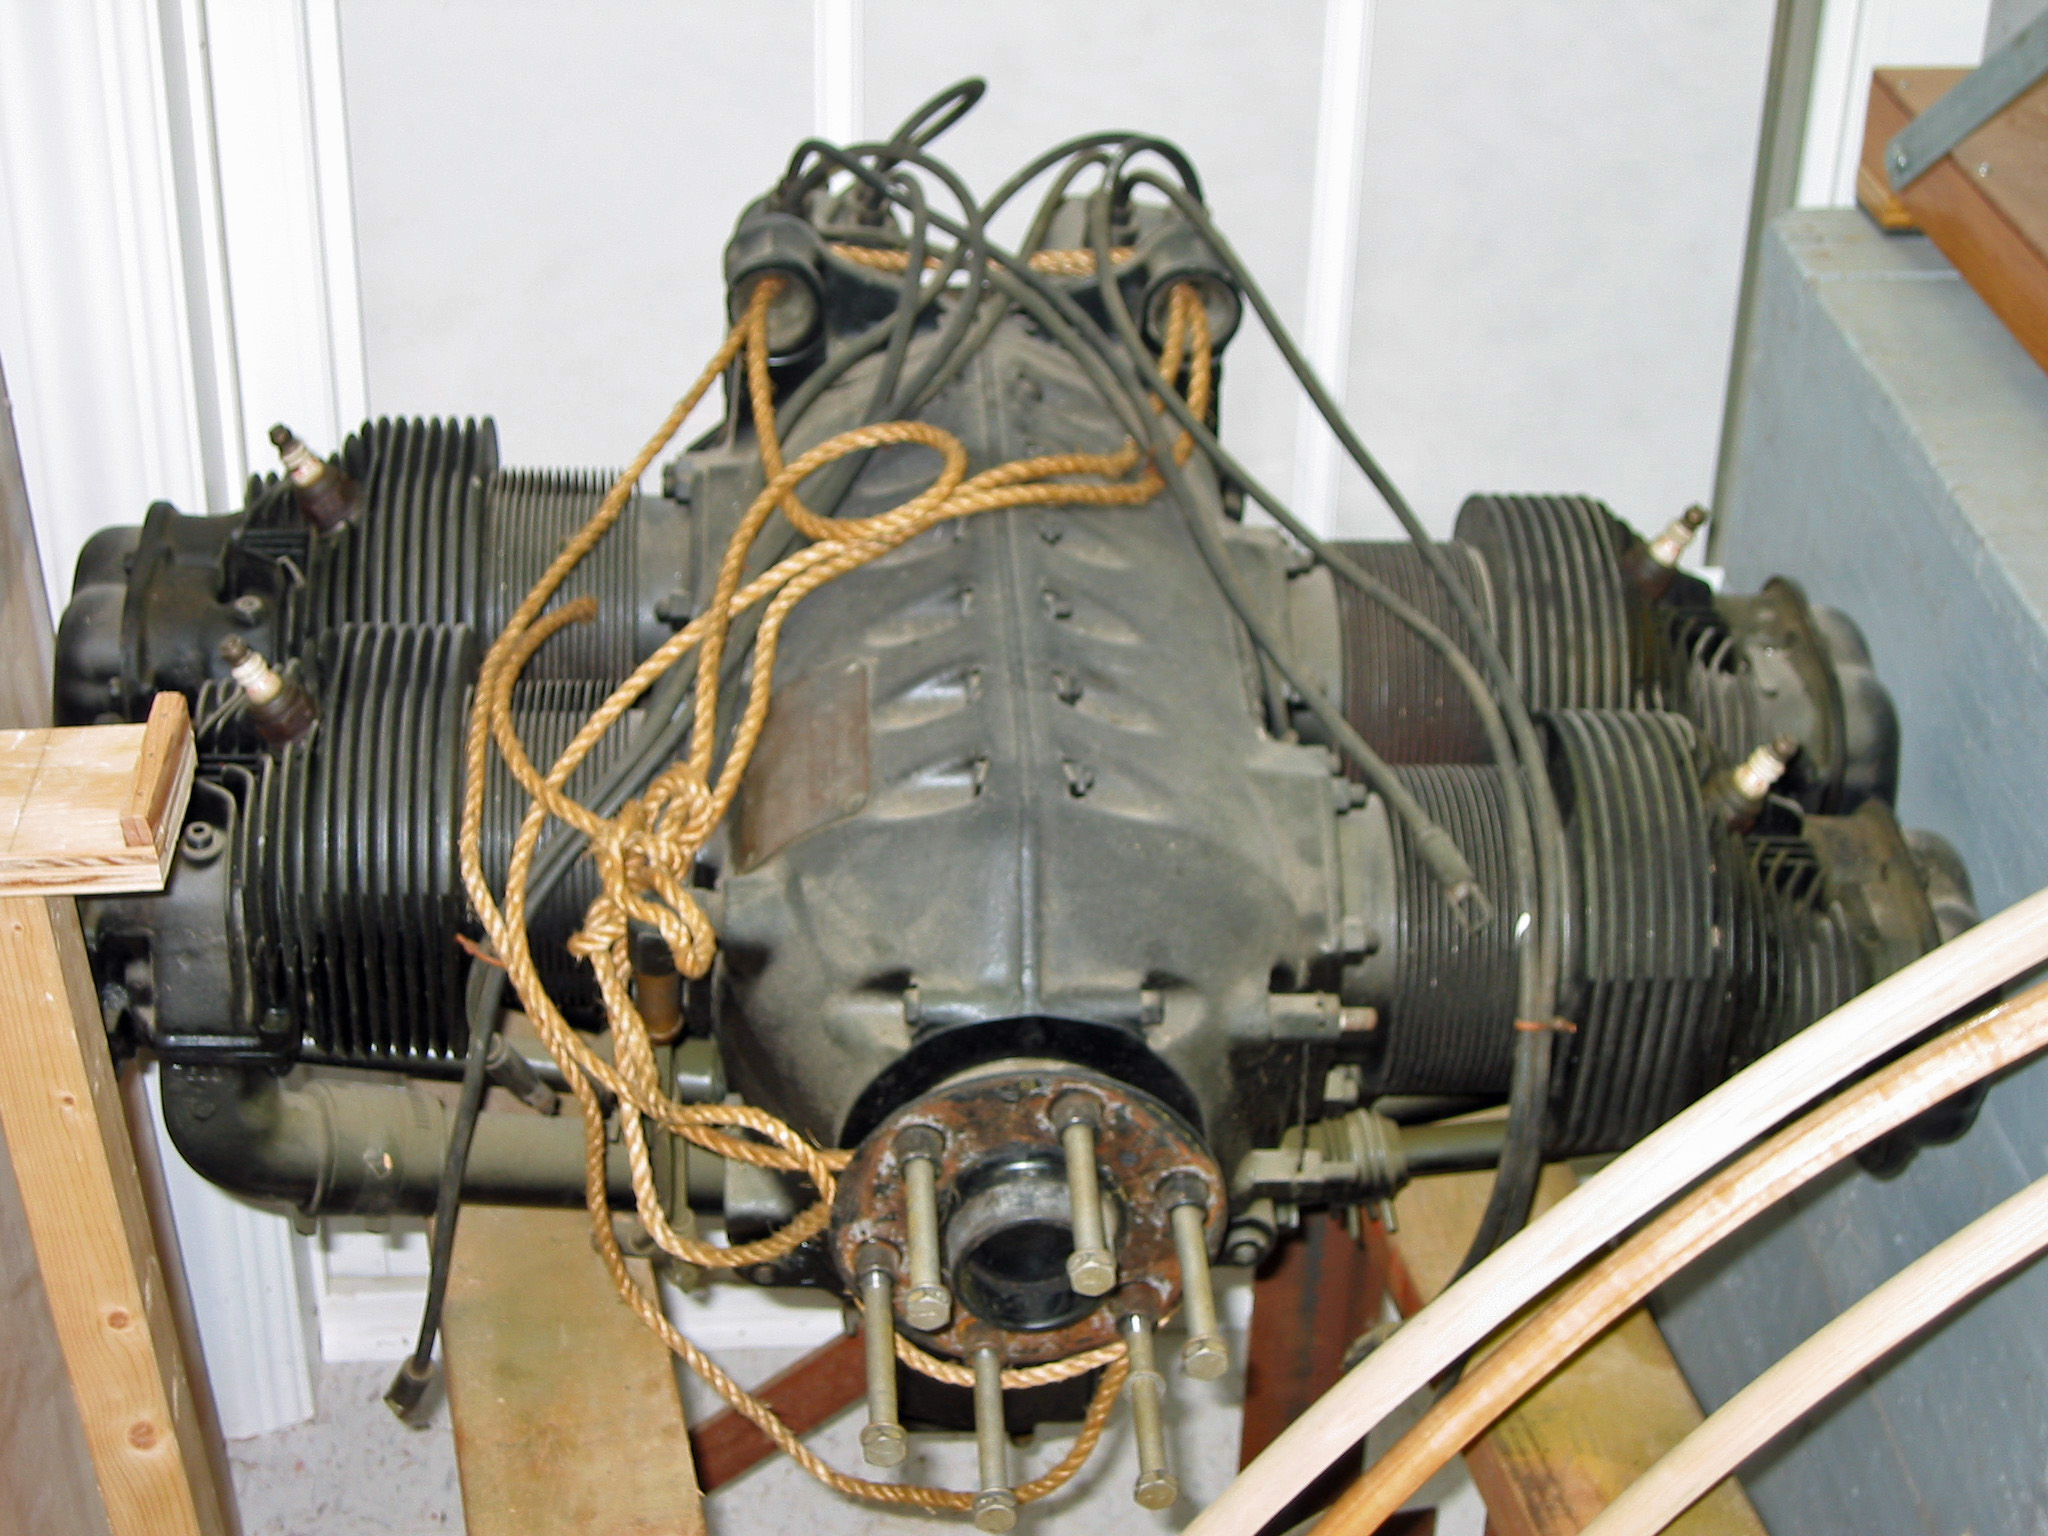
John Waltrowski had recommended I find a larger engine than the original Continental A-65 that rolled out of the Piper plant in 1946a
larger Continental C-85 or better yet a Continental O-200, going from 65 horsepower to 85 or 100. I also knew that some of the
aircraft parts I needed were missingnot many, but expensive parts. From the NTSB accident report, I learned that Don Gililand
of LaPorte, Indiana, owned the plane at the time of its crash in 1995. I called Don and asked if he had any of the original
parts in his possession. He did. Sue and I took our van to LaPorte along with money. Don had almost all of the original
plane in its crashed condition. He had the left wing complete, the right one being destroyed in the crash. He had the
mangled fuselage, nearly complete from the cockpit to tail. He had the complete set of tail surfaces. He also
components, front seat, baggage compartment, instrument panel, wing fairings, jury struts, and wing spar attachment components. I had boxes of parts left over that I could not identify. I was not even sure they came from a J-3. Out of curiosity,
I began to wonder if these were good parts and whether they would fit together. I decided to assemble the fuselage, landing
gear, engine mount, and empennage. Dry assembly I call it. I use this process in my radio control modeling to make certain
everything is going to fit together. Everything went together, but it took months. I finished the dry assembly, the cataloging
of parts, and the matching with drawings by November 21, 2000.
10. Covering the Fuselage
11. Assembling and Rigging
12. Flight Testing